Plan Ahead: September 8–9 — Online and mobile banking move to view-only for a short window as we finish our Digital Banking upgrade. Learn More

Using Quicken or QuickBooks?

Here's what to do before and after our upgrade.

Using Quicken or QuickBooks?

Why You're Here

As part of our move to upgraded Elements Digital Banking on September 9, the way Quicken and QuickBooks connect to your Elements accounts is changing too. If you got a pop-up in Elements Online Banking or a message inside Quicken pointing you here, this page has everything you need.

This only applies to you ifyou use Quicken, QuickBooks Desktop, or QuickBooks Online to automatically download transactions or pay bills from your Elements accounts. If you don't sync these accounts,there's nothing you need to do.


The Bottom Line

Don't skip this step.

If you don't deactivate and reconnect your online banking connection in Quicken or QuickBooks, the software will create a brand-new registration for your accounts instead of updating your existing one — which means duplicate accounts and a messy transaction history. Following the steps below keeps everything connected to your existing records.

September 9-16 Go Live — Reconnect

Once our upgraded Digital Banking is live, follow the steps for your product to deactivate the old connection and set up the new one, linking it to your existing accounts (not new ones). Note, it may take up to 5 business days before the Reconnect feature is available. 

Using QuickBooks Online Express Web Connect or Quicken Express Web Connect? That connection type won't be available again until 5 business days after go-live (on or around September 16). If you need transaction updates sooner, use Web Connect or Direct Connect in the meantime — see your product's tab below for details. 

Quicken

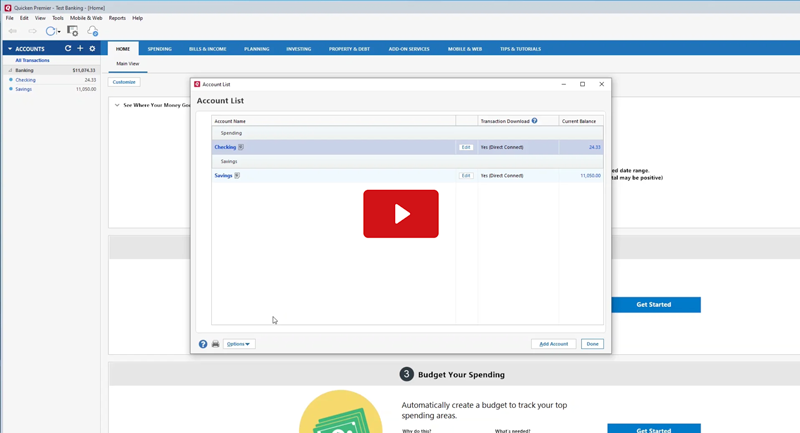
Choose your version and connection type below. Not sure which connection type you use? Check under Tools > Account List in Quicken — it's listed next to your account. 

→ Download Full Quicken Conversion Insructions (PDF)

< Back to Menu

Quicken for Windows — Direct Connect & Express Web Connect

Before September 8:

  1. Back up your Quicken Windows data file: File > Backup and Restore > Backup Quicken File
  2. Download the latest Quicken update: Help > Check for Updates
  3. Complete a final transaction download and accept all new transactions into your registers.

On or after September 9:

  1. Deactivate the connection for each Elements account (see bullets below)
    • Tools > Account List > click Edit on the account
    • Under Account Details, click Online Services > Deactivate and confirm
    • Click the General tab, delete the Financial Institution and Account Number fields, click OK
    • Repeat for each additional account

  1. Reconnect each account (see bullets below)
    • Tools > Account List > click Edit on the account > Online Services > Set up Now >; search for “Elements Financial,” enter your credentials
    • (Express Web Connect uses your online banking login; Direct Connect may require different credentials) > when accounts appear, choose Link to an existing account and match them to your current Quicken accounts — don't choose “Create a new account” unless you actually want a new one > click Next, then Done.
Quicken for Mac — Direct Connect & Quicken Connect

Before September 8: 

  1. Back up your data file: File > Save a Backup
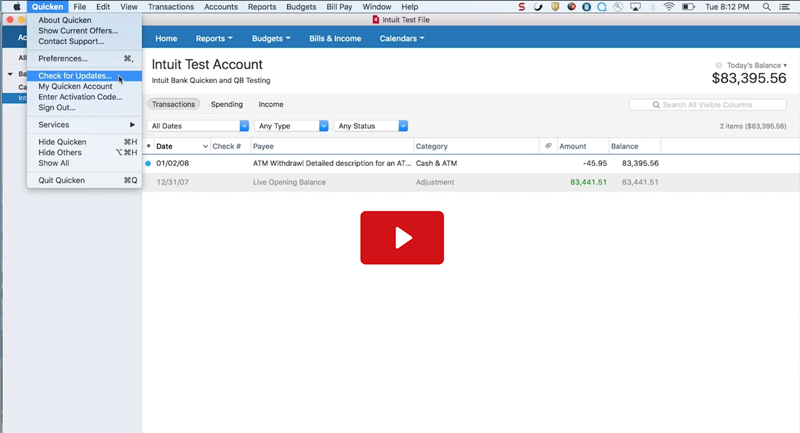
  2. Update Quicken: Quicken > Check for Updates
  3. Complete a final transaction download and accept all new transactions.

On or after September 9: 

  1. Click your account in the sidebar, then Accounts > Settings > Set up transaction download
  2. Search for “Elements Financial” and click Continue
  3. Enter your credentials (Express Web Connect uses your online banking login; Direct Connect may differ)
  4. On the “Accounts Found” screen, choose Link to match each account to your existing one — don't select “ADD” unless you want a new account
  5. Click Finish

Quicken for Windows — Web Connect

Before September 8: Same backup and final download steps as above.

On or after September 9:

  1. Deactivate the connection (same steps as Direct Connect/Express Web Connect above)
  2. Download a Web Connect file from Elements Online Banking
  3. In Quicken: File > File Import > Web Connect (.QFX) File
  4. Choose Link to an existing account and select the matching account
  5. Repeat for each account

Quicken for Mac — Web Connect

Before September 8: Same backup and final download steps as above.

On or after September 9:

  1. Click your account, then Accounts > Settings > Set up transaction download, search “Elements Financial,” click Continue
  2. Log in to Elements Online Banking and download your transactions. Note the date of your last successful download — overlapping dates can cause duplicate transactions.
  3. Drag the downloaded file into the Drop download file box; choose Web Connect if prompted
  4. On the “Accounts Found” screen, click Link to match each account — don't select “ADD” unless you want a new one
  5. Click Finish

Using Bill Pay directly in Quicken?


  • If you initiate bill payments from within Quicken (not from Elements Online Banking), you have a few extra steps to avoid duplicate payments.
  • Before September 8: Cancel any bill payments scheduled for on or after September 8, and delete repeating payment instructions with Elements. (Tools > Online Center — see full PDF for detailed steps by platform.)
  • On or after September 9: Once your connection is reconnected, you'll need to re-create your bill payments and any repeating instructions.


QuickBooks Windows — Direct Connect

Before September 8: 

  1. Back up your company file: File > Back Up Company > Create Local Backup
  2. Update QuickBooks: Help > Update QuickBooks Desktop
  3. Complete a final transaction download and accept all new transactions (required).

On or after September 9: 

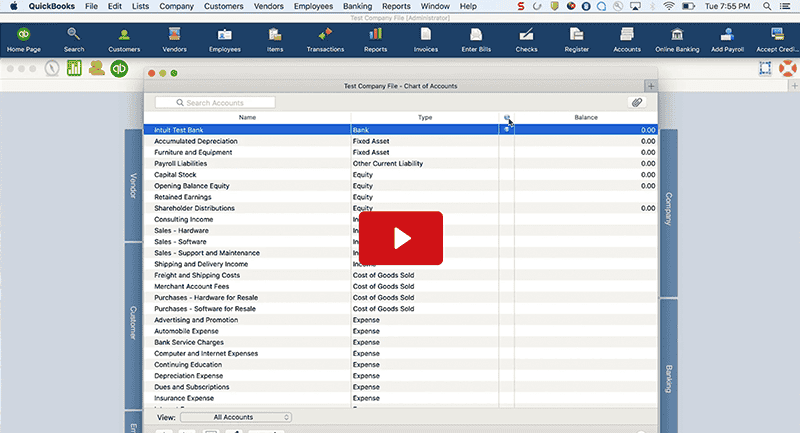
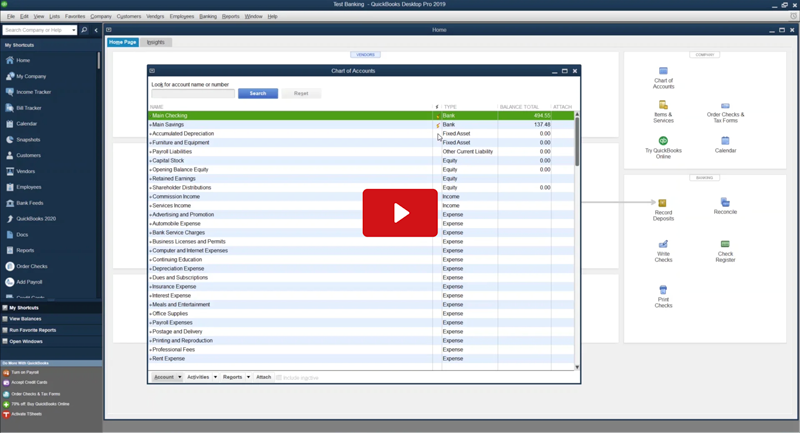
  1. Deactivate the connection: Lists > Chart of Accounts > right-click the account > Edit Account > Bank Feeds Settings tab > Deactivate All Online Services > Save & Close. Repeat for each account.
  2. Reconnect: Lists > Chart of Accounts > right-click the account > Edit Account > Set Up Bank Feeds > search “Elements Financial” > enter your Direct Connect credentials > match each account using Select Existing (don't choose “Create New” unless you want a new account) > Next > Done

QuickBooks Mac — Direct Connect

Before September 8: 

  1. Back up (File > Backup), update (QuickBooks > Check for QuickBooks Updates)
  2. Complete a final transaction download

On or after September 9: 

  1. Deactivate the connection: Lists > Chart of Accounts > right-click the account > Edit Account > Bank Feeds Settings tab > Deactivate All Online Services > Save & Close. Repeat for each account.
  2. Reconnect: Lists > Chart of Accounts > right-click the account > Edit Account > Set Up Bank Feeds > search “Elements Financial” > enter your Direct Connect credentials > match each account using Select Existing (don't choose “Create New” unless you want a new account) > Next > Done

QuickBooks Windows — Web Connect

Before September 8: 

  1. Back up your company file: File > Back Up Company > Create Local Backup
  2. Update QuickBooks: Help > Update QuickBooks Desktop
  3. Complete a final transaction download and accept all new transactions (required).

On or after September 9: 

  1. Deactivate the connection: Lists > Chart of Accounts > right-click the account > Edit Account > Bank Feeds Settings tab > Deactivate All Online Services > Save & Close. Repeat for each account.
  2. Log in to Elements Online Banking and download a .qbo file. Note your last successful upload date to avoid duplicate transactions.
  3. In QuickBooks: File > Utilities > Import > Web Connect Files, select your file
  4. Choose Use an existing QuickBooks account and match it — don't select “Create a new QuickBooks account” unless intended
  5. Click Continue, then OK

QuickBooks Mac — Web Connect

Before September 8: 

  1. Back up (File > Backup), update (QuickBooks > Check for QuickBooks Updates)
  2. Complete a final transaction download

On or after September 9: 

  1. Deactivate the connection: Lists > Chart of Accounts > right-click the account > Edit Account > Bank Feeds Settings tab > Deactivate All Online Services > Save & Close. Repeat for each account.
  2. Log in to Elements Online Banking and download a .qbo file (note your last successful upload date)
  3. In QuickBooks: File > Import > From Web Connect, import your file
  4. Click Select an Account to match the existing register — don't select “NEW” unless intended
  5. Click Continue, then OK

Using Bill Pay directly in QuickBooks Windows?

If you initiate bill payments from within QuickBooks (not from Elements Online Banking):

  • Before September 8: Cancel any payments scheduled for on or after September 8 — open the account register, find the transaction, and choose Edit > Cancel Payment.
  • On or after September 9: If Elements continues to support Bill Pay from within QuickBooks, you'll need to re-create your payments. Choose Help > QuickBooks Help and search “Pay a Vendor Online” for step-by-step guidance.

→ Download Full QuickBooks Desktop Conversion Instructions (PDF)

Express Web Connect

Before September 8:

  • Complete a final transaction download and accept all new transactions into your registers.

On September 9: Disconnect your Elements accounts:

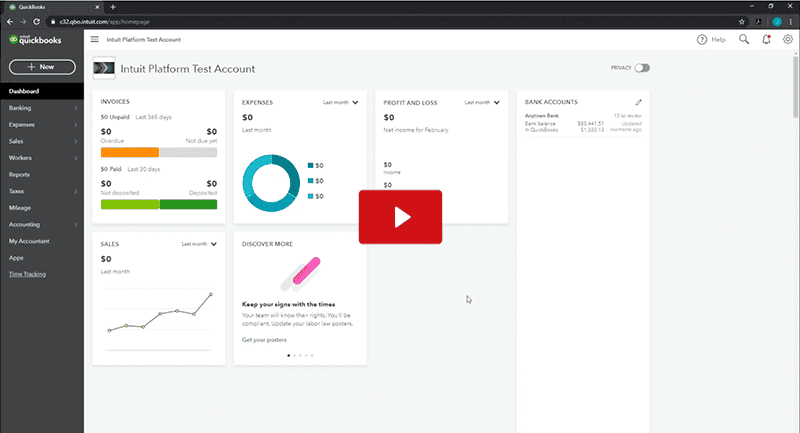
  1. Select Banking from the left menu
  2. Click the account, then the pencil icon > Edit Account Info
  3. Check Disconnect this Account on Save > Save and Close
  4. Repeat for each account

Starting 5 business days after go-live (on or around September 16):

  1. Reconnect: On the Banking page, click Add Account, search “Elements Financial,” enter your credentials and continue
  2. Match each account to your existing QuickBooks Online account — don't select “+Add New” unless you want a new one
  3. Click Connect, then Finish
  4. Review the For Review tab and use Batch Actions > Exclude Selected to remove any duplicate transactions

Web Connect

Before September 8:

  • Complete a final transaction download and accept all new transactions into your registers.

On September 9: Disconnect your Elements accounts:

  1. Select Banking from the left menu
  2. Click the account, then the pencil icon > Edit Account Info
  3. Check Disconnect this Account on Save > Save and Close
  4. Repeat for each account

Finish Setup:

  1. Download a Web Connect file (.qbo or .qfx) from Elements Online Banking
  2. In QuickBooks Online: Banking > File Upload, locate your file
  3. Match the appropriate QuickBooks account — don't choose “+Add New” unless intended
  4. Click Let's go!, review the For Review tab, then Next > Done

→ Download Full QuickBooks Online Conversion Instructions (PDF)

Important Things to Know

  • Express Web Connect has a delay. This connection type isn't available for about 5 business days after go-live. If you need transactions during that window, use Web Connect instead.
  • Your login credentials may need updating. If you changed your username or password as part of our Digital Banking upgrade, make sure you use your new credentials when reconnecting.
  • Always link to your existing account. When reconnecting, look for “Link” or “Use an existing account” — never “Create new” or “Add” unless you actually want a second, duplicate account.
  • Note your last download date. For Web Connect especially, downloading overlapping date ranges can create duplicate transactions.

Still Have Questions?

Can't get your accounts to reconnect?

Double check that you're searching for “Elements Financial” (not just “Elements”) when selecting your institution, and confirm you're using the credentials for the correct connection type — some institutions require different credentials for Direct Connect than for online banking login.

Ended up with a duplicate account by mistake?

You can typically merge or delete the extra account in Quicken/QuickBooks, but we recommend backing up your data file first. See your product's help documentation, or contact us below.

Need more help?

Our member service team is ready to help.

1-800-621-2105

Live Chat